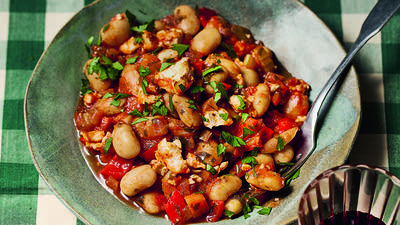
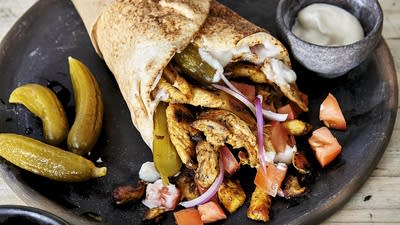
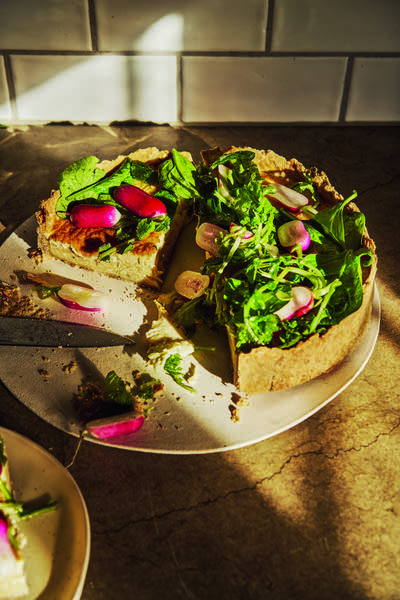
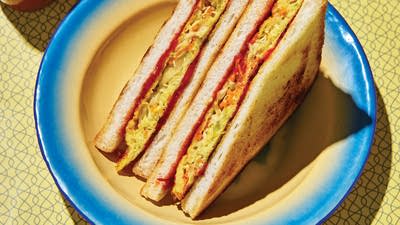
More Recipes
Jyoti: Keema Mattar was one of the great comfort foods of my childhood, and a staple of my family’s Sunday brunches. It is marvelously versatile—in addition to serving it as is, my mother used it as a filling for stuffed vegetables and flatbreads, and as the base for her shepherd’s pie. Leftovers were transformed into breaded cutlets, or croquettes, and enjoyed with tea the following day. Keema pizza and keema tacos are also excellent ideas.
The traditional version is made with ground mutton, but I like to swap in turkey (or use a mix of 3:1 turkey to mutton/pork) for a lighter preparation. Feel free to experiment!
Auyon: The term turkey was originally given to African guineafowl by Europeans, who apparently named the birds after the Turkish traders who ferried them over from Africa. When colonizers came across a similar-looking North American bird, a distant relative of the guineafowl, they got confused and deemed the new bird a “turkey” as well. Meanwhile the Turks, who were well aware that the North American impostor had no relation to their country, opted to call the newfound bird a “Hindi,” under the mistaken assumption that such exotic fare must have come from India.
SERVES 6 · COOK TIME: 1½ hours
INGREDIENTS:
 Heartland Masala: An Indian Cookbook from an American Kitchen
Jyoti Mukharji
Heartland Masala: An Indian Cookbook from an American Kitchen
Jyoti Mukharji
¾ cup (180 ml) canola oil
2 dried red chilies, broken into thirds (see reference 1)
2 Indian bay leaves
4 cloves
4 green cardamom pods, cracked open so that the seeds are exposed
1 ½ cups (360 g) blended or grated yellow onion (about 1 large onion, see Onion Blending, reference 2)
2 pounds (910 g) ground turkey
⅝ cup (160 g) tomato puree, diluted with 5 tablespoons water (for a substitute, see Tomato Puree, reference 3)
4 cloves garlic, finely chopped
4 teaspoons grated, peeled fresh ginger
1 ½ teaspoons salt, plus more to taste
¼ teaspoon ground cayenne (optional)
2 ¼ cups (340 g) frozen peas, no need to thaw
1 teaspoon cumin seeds, roasted (lightly!) and ground (recipe below)
1 teaspoon coriander seeds, roasted and ground with the cumin
GARNISH
3 tablespoons finely chopped fresh cilantro, stems and leaves
¾ teaspoon garam masala (store-bought or homemade, see recipe below)
DIRECTIONS:
Heat the oil in a large, lidded (but uncovered for now) pan over medium-high heat. Once the oil starts to shimmer, add the chilies and cook, giving the pan a shake to distribute them evenly, until they darken a shade or two, about 30 seconds.
Add the bay leaves, cloves, and cardamom pods. Sizzle, giving the pan another shake, until the spices become fragrant, an additional 30 seconds.
Add the onion and watch out for oil splatter—use a splatter screen if you have one. Cook, stirring frequently, until the onion is golden brown, deeper than oatmeal, with plenty of darker caramelized flecks, 10 to 15 minutes. This browning is crucial to the flavor of the dish, so don’t undercook (see reference 4). If you notice the onion starting to burn before it gets to the right color, stir more often. You may need to cook for a bit longer if the onion doesn’t seem dark enough.
While the onion is cooking, combine the ground turkey and diluted tomato puree in a large bowl and massage to incorporate. Use your hands and be thorough, as this step is crucial to getting a good, lump-free texture in the final dish.
Add the garlic, ginger, salt, cayenne (if using), and turkey-tomato mixture to the onion. Stir constantly for the first few minutes to break up the meat and fully incorporate the spices, then continue to stir frequently. The meat will release juices into the pan, which must evaporate before the meat can properly brown in the fat and oil. The meat is done when all the juices have boiled off and the meat itself has darkened and reddened, 20 to 25 minutes.
Add the peas, ground cumin, and ground coriander. Stir well to combine. Reduce the heat to medium, cover the pan, and cook until the peas are cooked through and the flavors have melded, 5 to 7 minutes. The final dish should have plenty of moisture but no visible gravy. The texture should be akin to that of ground meat you would use for American-style hard tacos.
Remove from the heat. Let rest, undisturbed, for at least 15 minutes before serving. Taste for salt.
Garnish with cilantro and garam masala. Serve hot.
SERVING TIP
The dried chilies and bay leaves in the final dish are not meant to be eaten and should be moved to the side of the plate—warn your guests. The cardamom pods and cloves are totally edible and we love them, but they can be pushed aside as well if the flavor is too intense.
EXCERPTED REFERENCES
Chili (Red, Green, and Kashmiri) — Page 271
Native to the Americas, Capsicum annuum arrived in India sometime in the early sixteenth (or very late fifteenth) century, courtesy of Portuguese traders. Over the next couple hundred years, it established itself as a culinary mainstay across the subcontinent, unseating black pepper (and the related long pepper) as the main source of heat in Indian cuisine. Most of the recipes in this book involve whole dried red chilies, dried chili powder, or fresh green chilies.
Onion Blending — Page 144
Blending the onion will likely require a food processor or grinder. We recommend against adding any water to speed things along, and most stand blenders aren’t quite up to the task. Also, we recommend grinding the onion just before using it—if the blended mixture sits for more than a couple of minutes, the liquid will separate from the solids and spit violently when it hits the oil.
Tomato Puree — Page 83
If you can’t find canned tomato puree (lightly cooked pureed tomatoes), you can substitute ¾ cup (195 g) canned, diced tomatoes. Blitz the diced tomatoes in a blender, and don’t dilute them with any water. (The backstory here is that Jyoti used to use a very specific canned tomato sauce, and she got quite attached to its consistency. Rather than directing you, dear reader, to seek out a single brand, we came up with a dilution solution that works more universally.)
Don't Undercook Your Onions — Page 32
The longer an onion is cooked, the greater its depth of flavor. Dark, sweet, and jammy caramelized onions are the pinnacle of this transformation, which can take up to an hour on the stovetop. None of the recipes in this book involve fully caramelized onions, but it’s good to keep that outcome in mind, because most cooks new to Indian cooking tend to underbrown onions for fear of burning them. As long as your heat isn’t set too high, err on the side of overcooking rather than undercooking. Although some of our recipes include onions cooked only until soft and translucent, several involve cooking them until the edges are good and brown. Proper browning is crucial to getting the right flavor, texture, and color for a given dish, so be patient and stir often.
For those of you who have a lot of experience caramelizing onions, it’s worth noting that Indian-style onion cookery is hotter, faster, and more fat-intensive than low-and-slow Western methods. You’ll want to keep the onions moving around (more than you’re used to) to make sure nothing burns. If anything does start to stick or scorch, add a spoonful of water and loosen any stuck bits.
Dry-Roasted & Ground Spices Recipe
Jyoti: This technique is crucial to getting the proper flavor for certain dishes. The effect is similar to that of roasting nuts: flavors deepen and transform.
A light touch is key, as over-roasting will produce a bitter flavor. If the spices start to burn, don’t hesitate to throw them out and start again. It’s never worth ruining a dish over a few minutes of saved time and a handful of spices.
When a recipe calls for both cumin and coriander roasted and ground, it’s fine to cook and grind the spices together (we’ll include a reminder in each recipe).
COOK TIME: less than 5 minutes
INGREDIENTS:
As many spices as you need
DIRECTIONS:
In a heavy-bottomed pan (choose a size that will fit all the spices comfortably) over medium-high heat, add the whole spices for your recipe and cook, stirring or shaking frequently. The spices will first smoke a bit, and then start to change color.
Remove the pan from the heat as soon as the spices darken a shade or two and become fragrant. The cooking time is often as quick as a minute or two, but it will depend on the kind and quantity of spices and the strength of your stove, so pay close attention to the color and smell.
Transfer the spices to a plate and cool completely before pulverizing in a coffee grinder reserved for spices or using a mortar and pestle (if you don’t have either, see Note, below).
Store in an airtight container and use within a few days. For the best flavor, we recommend roasting and grinding small quantities as needed. Ground spices also keep well in the freezer.
Note
Improvise with a letter-size piece of parchment paper over a cutting board. Fold the parchment in half, and then open the paper and center the roasted (and cooled) spices close to the crease. Refold the parchment in half and use a heavy object like a rolling pin to bash the spices over the cutting board. To keep the spices from spilling, use your fingers to close the parchment at the open ends while crushing (or fold the parchment paper over at the ends to keep things sealed in). Open the paper and shuffle the spices around occasionally to get a more even grind.
Garam Masala Recipe
MAKES just over 2 tablespoons
COOK TIME: 30 minutes plus time to cool
INGREDIENTS:
2 teaspoons cumin seeds
1 teaspoon cloves
1 teaspoon black peppercorns
One 3-inch (7.5-cm) cinnamon stick, broken into a few pieces
2 black cardamom pods
DIRECTIONS:
Preheat the oven to 200°F (95°C).
Place the cumin, cloves, peppercorns, cinnamon, and cardamom on a baking sheet and bake, undisturbed, until the spices darken slightly and become fragrant, about 30 minutes.
Let cool to room temperature before pulverizing in a coffee grinder reserved for spices. Store in an airtight container in the freezer for up to a year.
Reprinted with permission from Heartland Masala by Jyoti Mukharji and Auyon Mukharji. Photo © Kevin J. Miyazaki.
When you shop using our links, we earn a small commission. It’s a great way to support public media at no extra cost to you.
Before you go...
Each week, The Splendid Table brings you stories that expand your world view, inspire you to try something new, and show how food connects us all. We rely on your generous support. For as little as $5 a month, you can have a lasting impact on The Splendid Table. And, when you donate, you’ll join a community of like-minded individuals who love good food, good conversation, and kitchen companionship. Show your love for The Splendid Table with a gift today.
Thank you for your support.
Donate today for as little as $5.00 a month. Your gift only takes a few minutes and has a lasting impact on The Splendid Table and you'll be welcomed into The Splendid Table Co-op.